
1、在VMware Workstation Pro中安装Ubuntu 22.04
这里不在阐述,请参考我另外一篇文章(VMware 17安装Ubuntu 22.04)
文章访问地址:https://www.yangxingzhen.com/10232.html
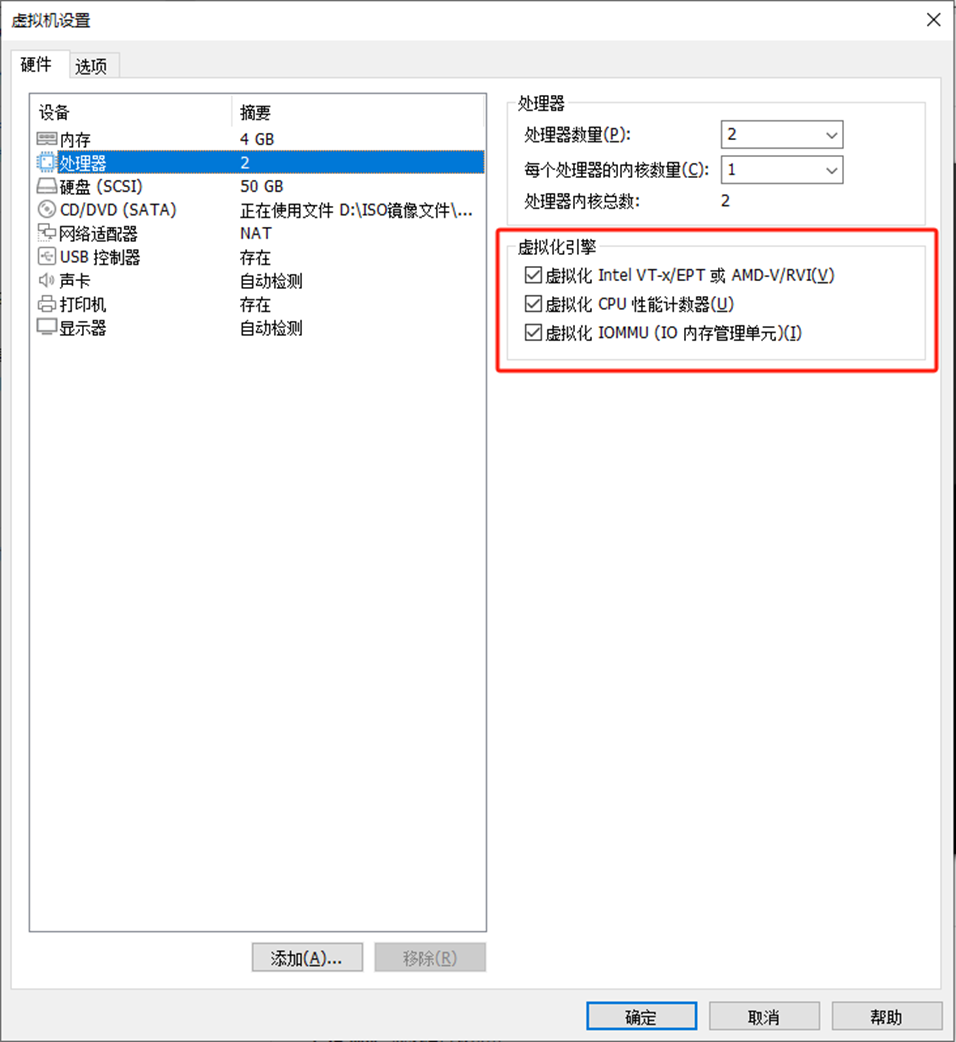
注意:如果Ubuntu KVM环境是VMware虚拟机,CPU需要开启虚拟化
2、安装虚拟化所需环境组件
# 这里我用的是阿里云apt源
root@localhost:~# apt -y update
root@localhost:~# apt -y install qemu-kvm virt-manager libvirt-daemon-system libguestfs-tools
3、开启端口转发
root@localhost:~# echo "net.ipv4.ip_forward = 1" >>/etc/sysctl.conf
4、下载官方ISO镜像文件
root@localhost:~# mkdir -p /opt/image
root@localhost:~# cd /opt/image
root@localhost:/opt/image# wget https://mirrors.aliyun.com/centos/7/isos/x86_64/CentOS-7-x86_64-Minimal-2207-02.iso
5、创建虚拟机虚拟磁盘文件
# 创建一个20G的虚拟磁盘文件来存储虚拟机的操作系统和数据
root@localhost:/opt/image# qemu-img create -f qcow2 /opt/image/CentOS_7_9_x64_Minimal.qcow2 20G
6、创建虚拟机
# 这里需要借助VNC工具进行端口转发,我这里使用的终端是Xshell,需要先下载安装Xmanager。下载链接:https://www.xshell.com/zh/xmanager-download/
# 获取系统名称列表
root@localhost:/opt/image# virt-install --osinfo list
# 创建虚拟机
root@localhost:/opt/image# virt-install --name CentOS_7_9_x64_Minimal --ram 2048 --vcpus 2 --os-variant centos7 --arch x86_64 --network network=default,model=virtio --disk path=/opt/image/CentOS_7_9_x64_Minimal.qcow2,format=qcow2,size=20 --cdrom /opt/image/CentOS-7-x86_64-Minimal-2207-02.iso --graphics vnc,listen=0.0.0.0,port=8888 --console pty,target_type=serial
# 列出所有虚拟机
root@localhost:/opt/image# virsh list --all
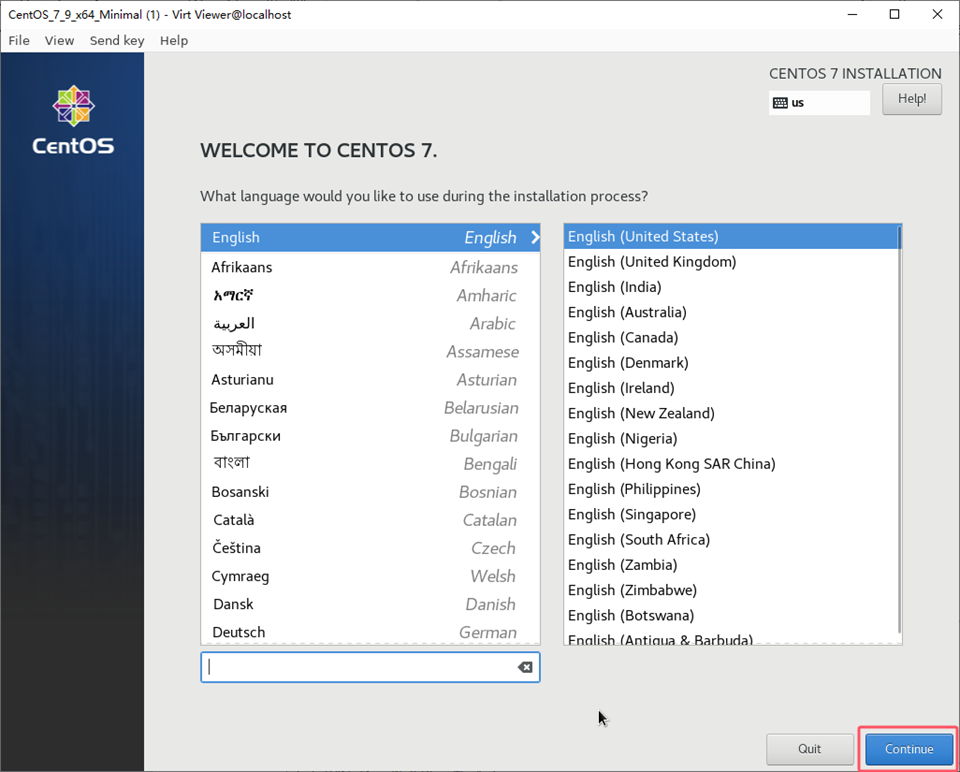
7、安装CentOS 7
1)选择安装过程中使用的语言,这里选择英文
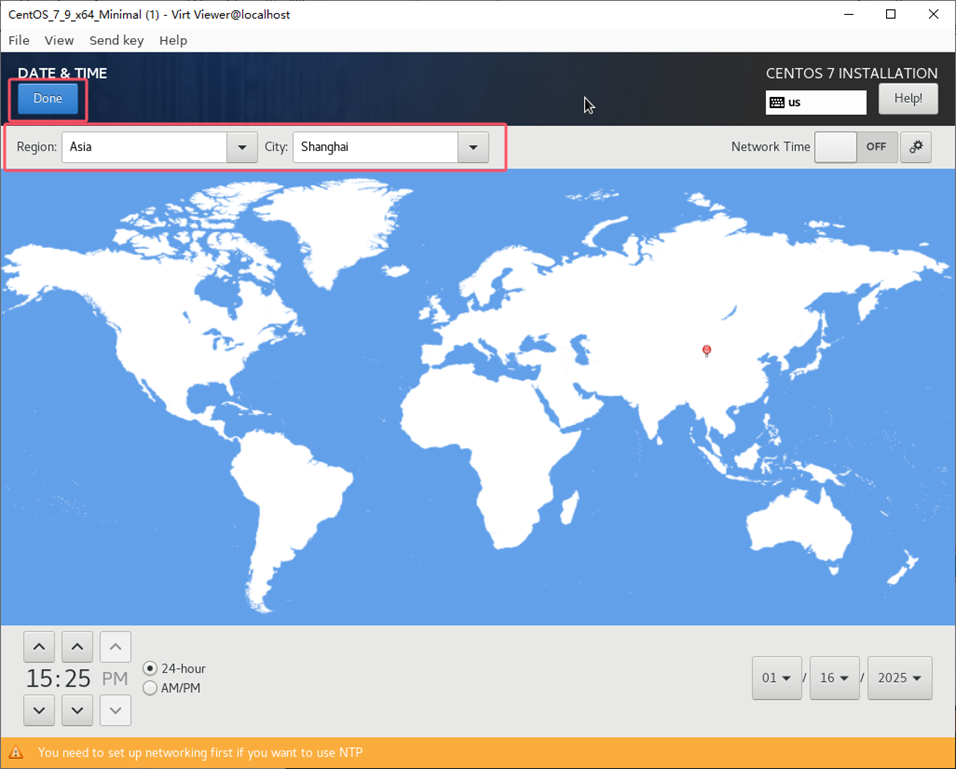
2)设置时区
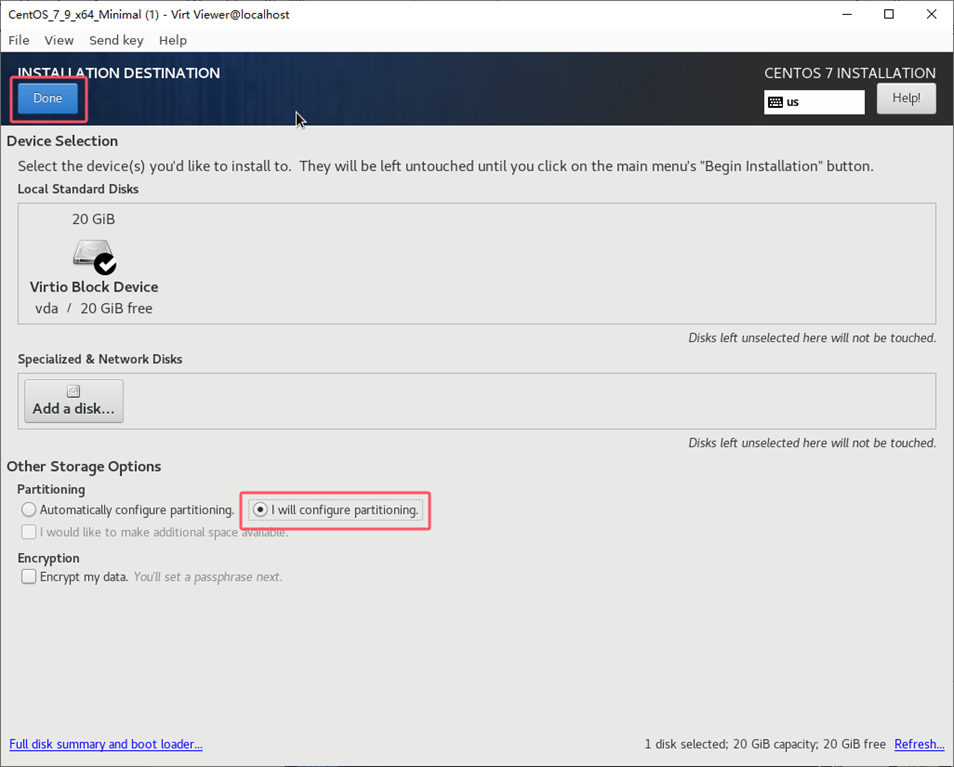
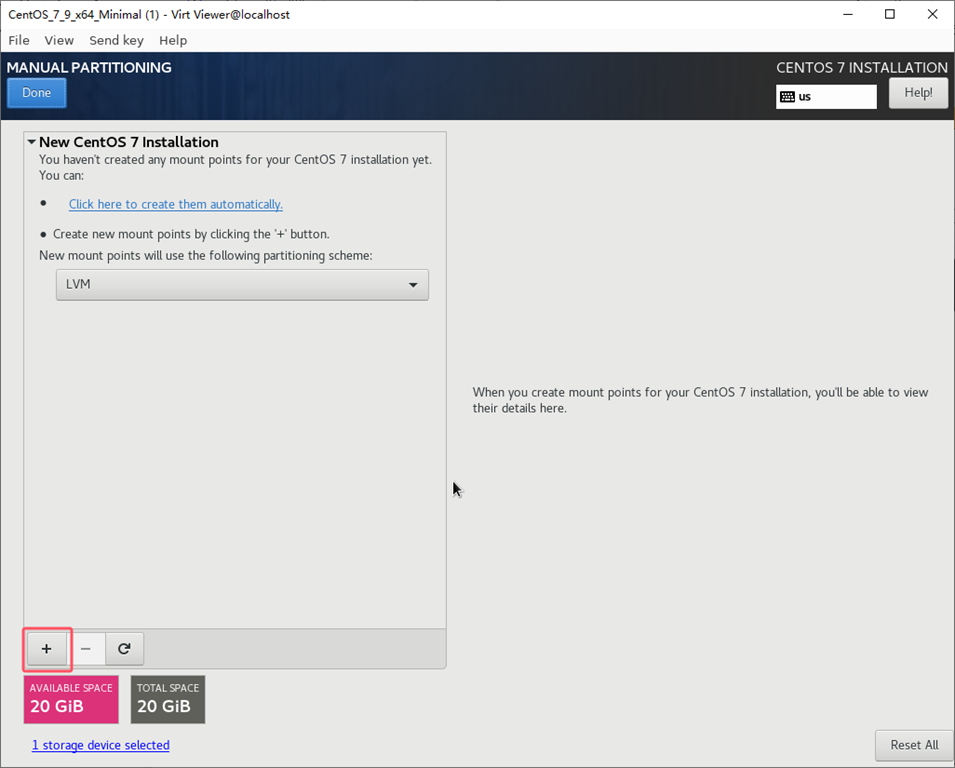
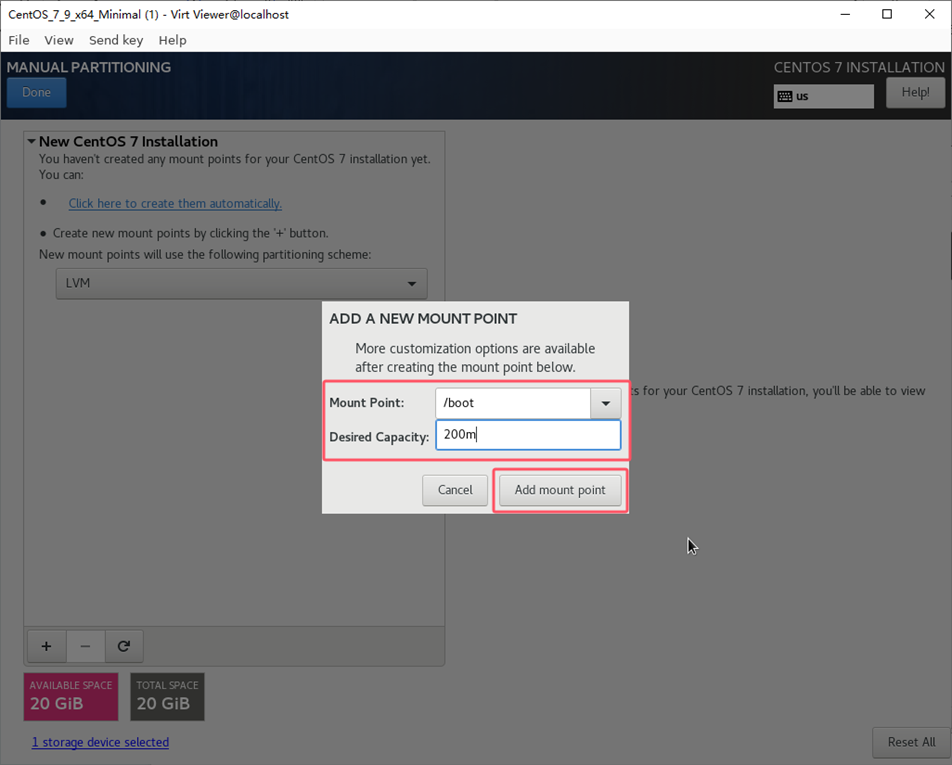
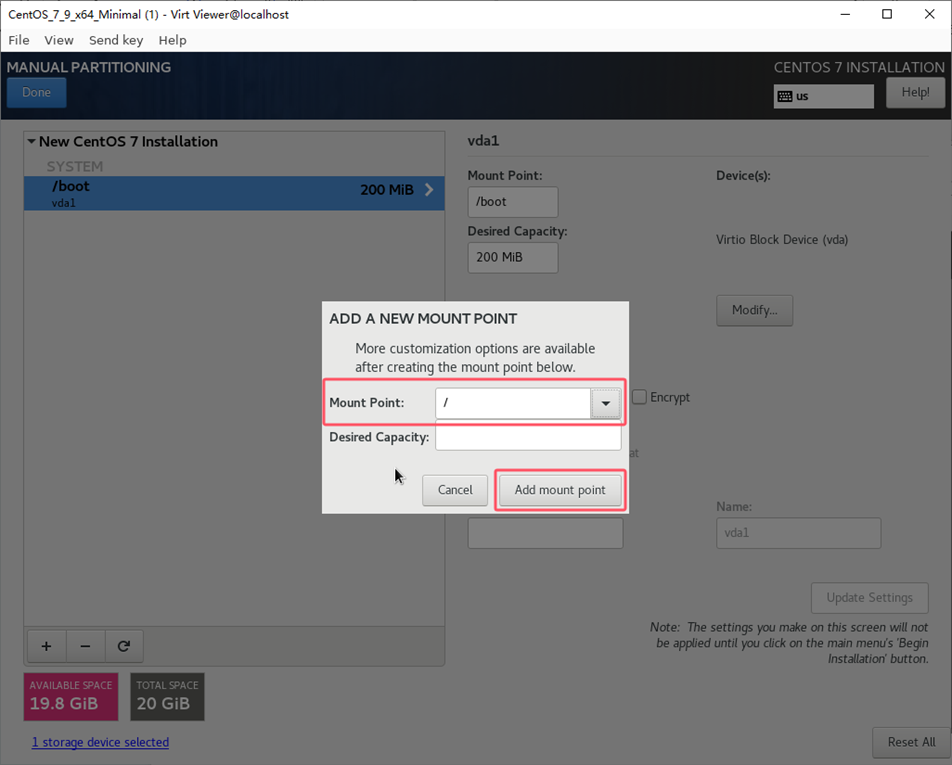
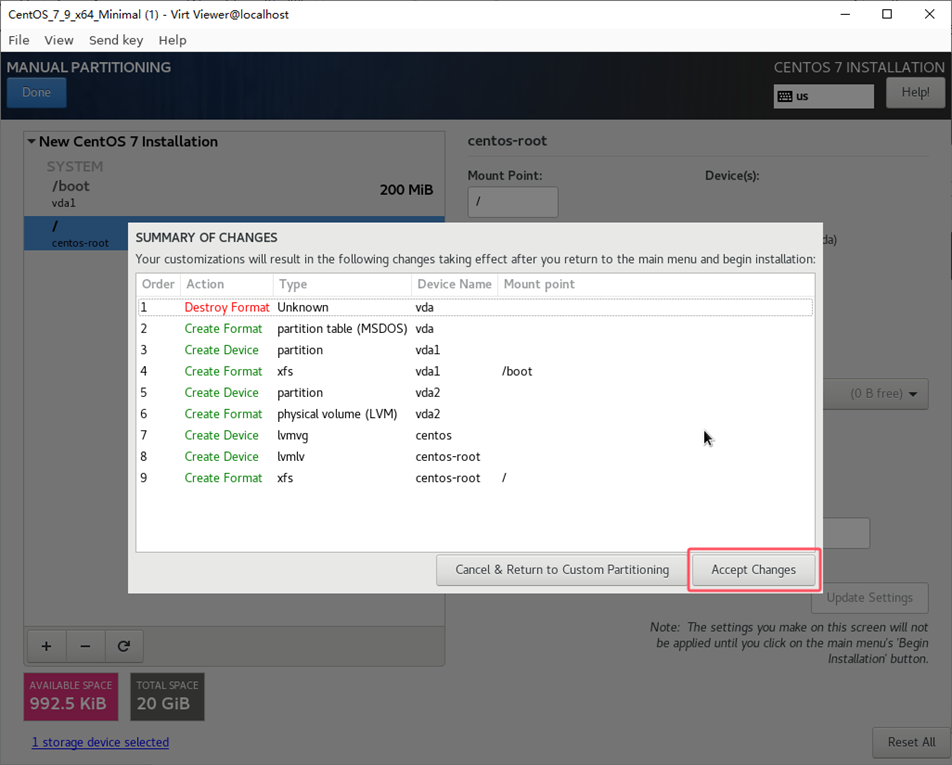
3)磁盘分区,这里选择手动分区
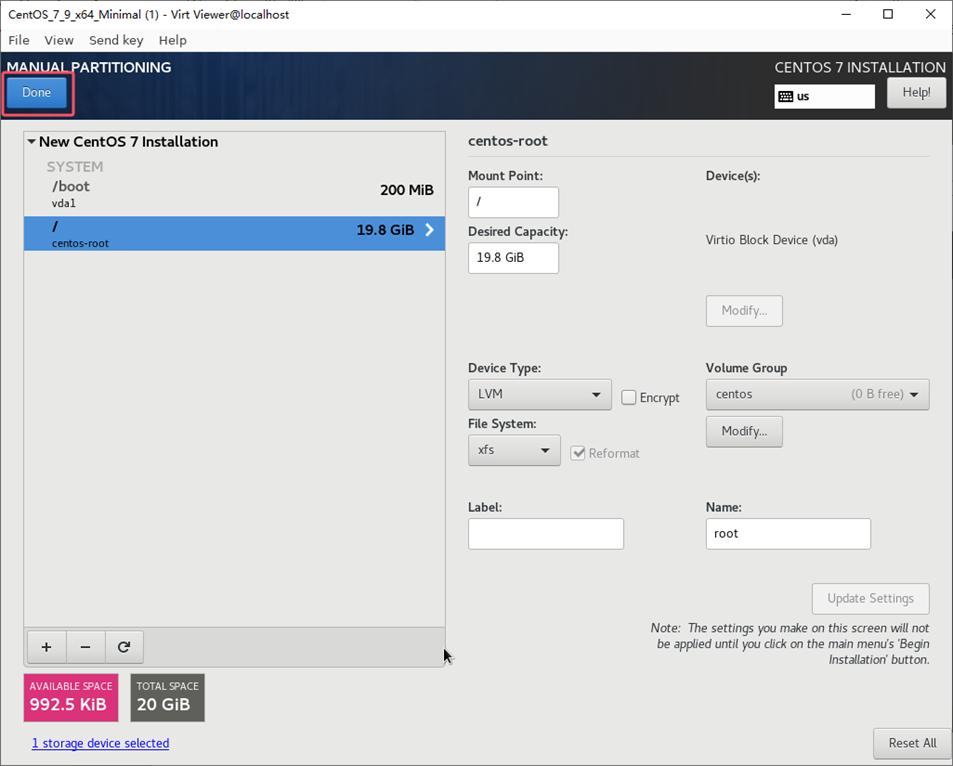
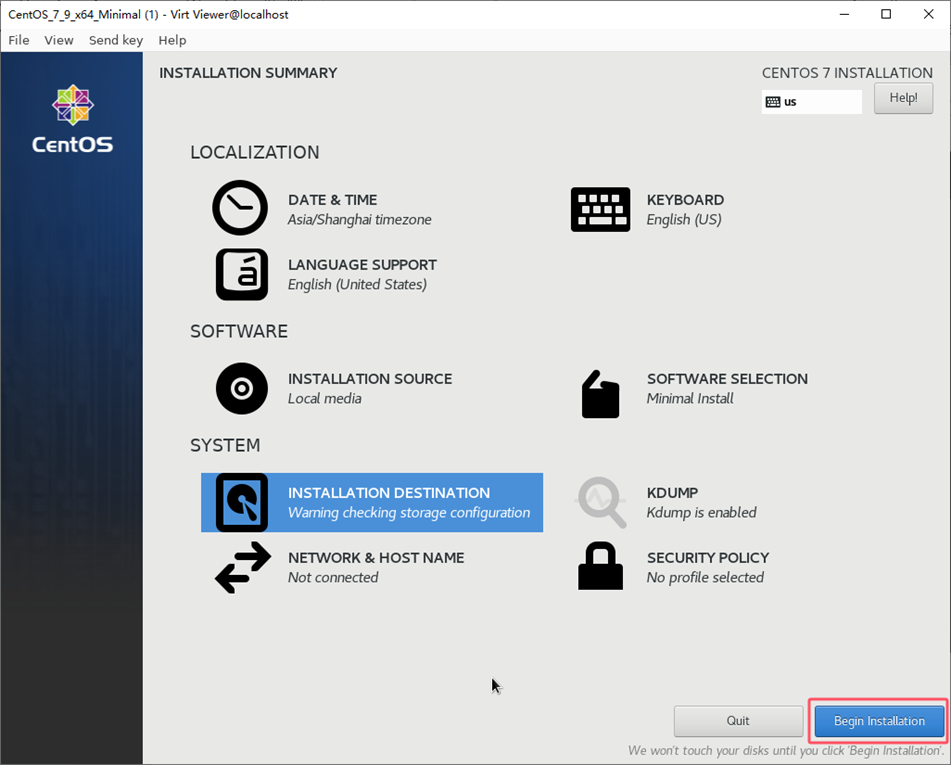
4)开始安装系统
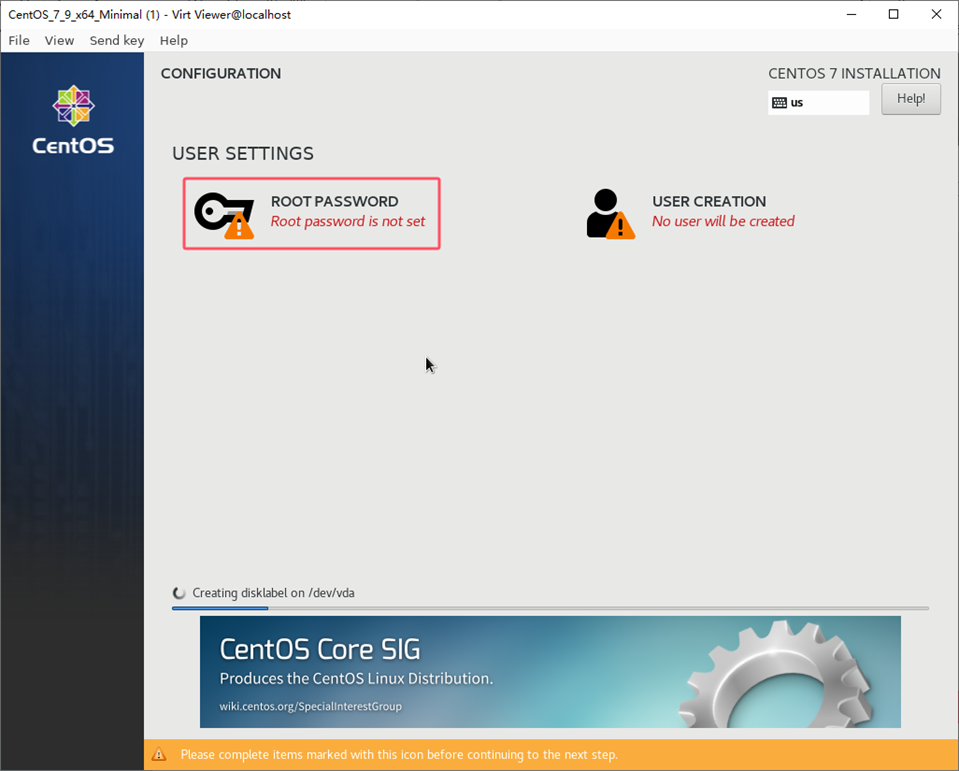
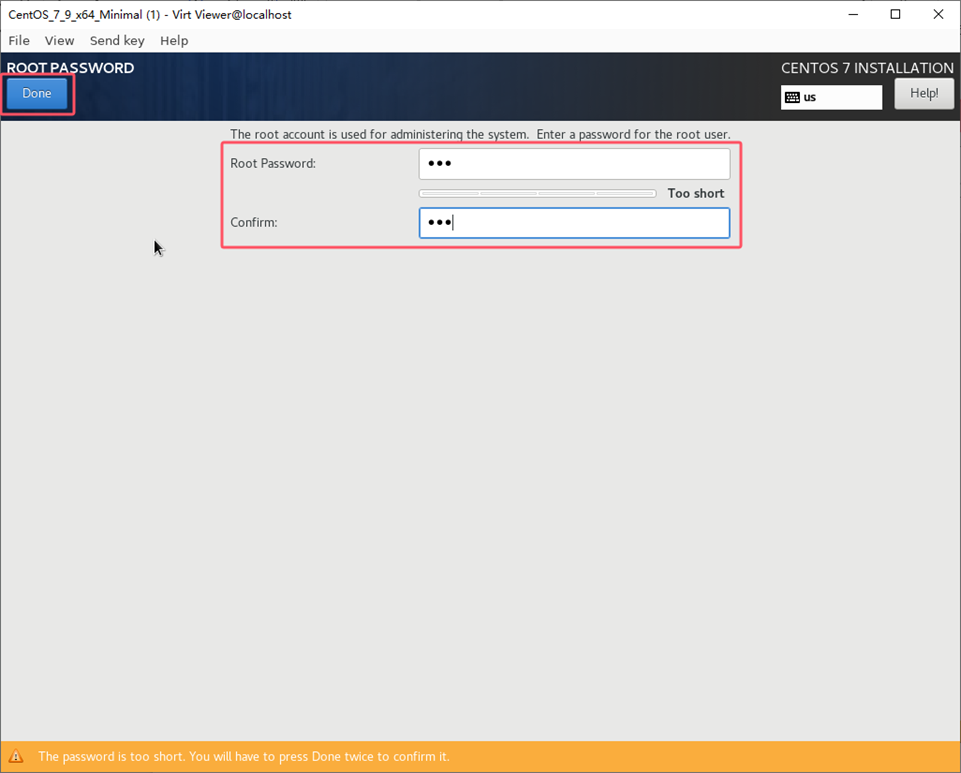
5)设置root密码
6)等待系统安装完成

7)安装完成重启进入系统

8、登录CentOS 7
1)输入前面创建的用户和密码
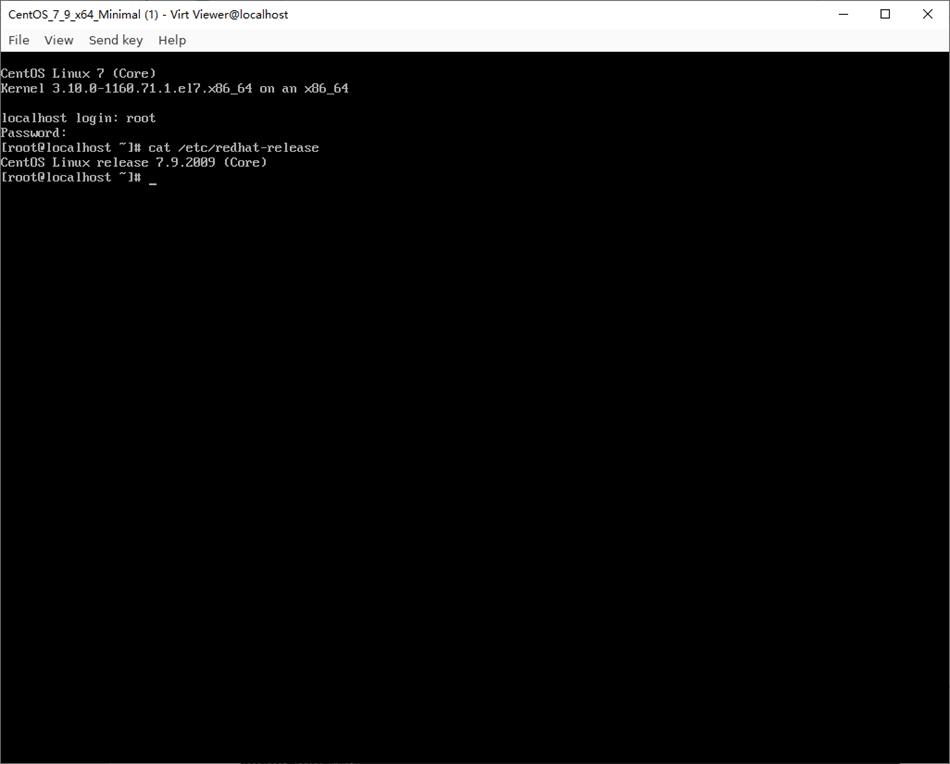
2)系统初始化
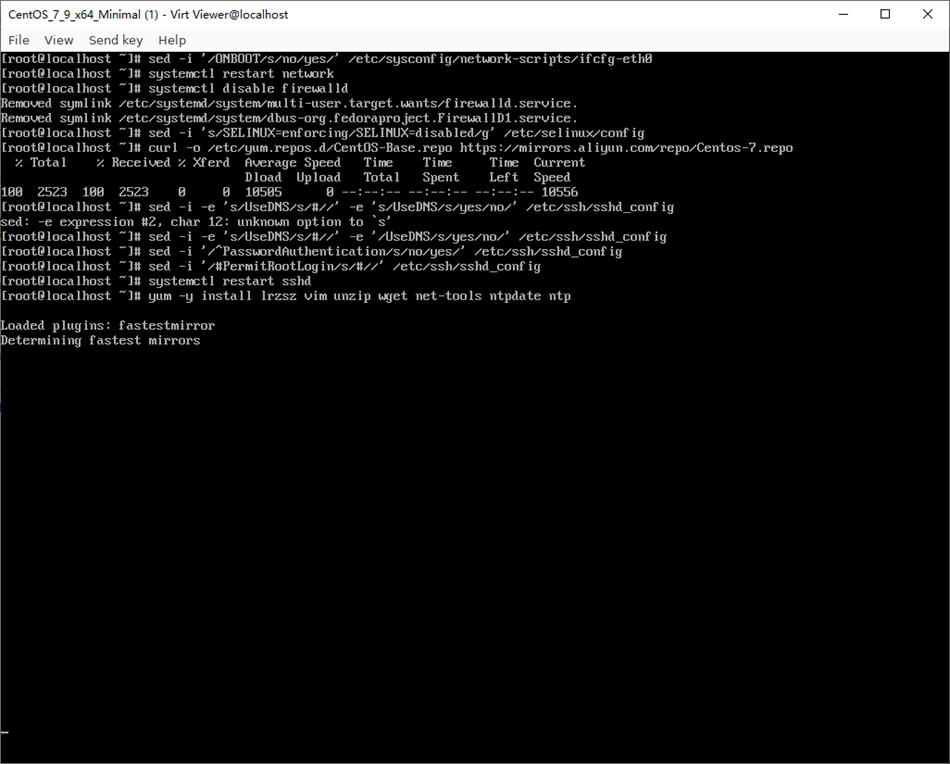

# 开启网络
sed -i '/ONBOOT/s/no/yes/' /etc/sysconfig/network-scripts/ifcfg-eth0
systemctl restart network
# 关闭防火墙
systemctl disable firewalld
# 关闭Selinux
sed -i 's/SELINUX=enforcing/SELINUX=disabled/g' /etc/selinux/config
# 配置阿里云Yum源
curl -o /etc/yum.repos.d/CentOS-Base.repo https://mirrors.aliyun.com/repo/Centos-7.repo
# 开启密码登录,允许root登录
sed -i -e '/UseDNS/s/#//' -e '/UseDNS/s/yes/no/' /etc/ssh/sshd_config
sed -i '/^PasswordAuthentication/s/no/yes/' /etc/ssh/sshd_config
sed -i '/#PermitRootLogin/s/#//' /etc/ssh/sshd_config
systemctl restart sshd
# 安装常用命令
yum -y install lrzsz vim unzip wget net-tools ntpdate ntp
# 确认没问题关机
init 0
9、压缩镜像文件
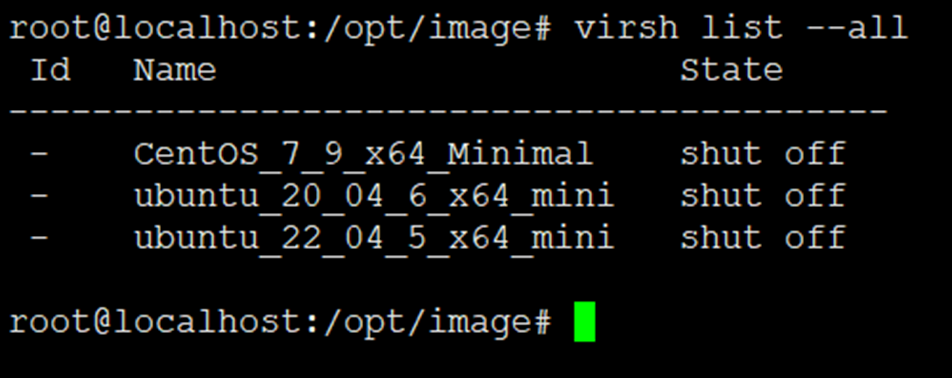
1)列出所有虚拟机
root@localhost:/opt/image# virsh list --all
2)如果前面没关机,可以手动关闭虚拟机
root@localhost:/opt/image# virsh destroy CentOS_7_9_x64_Minimal
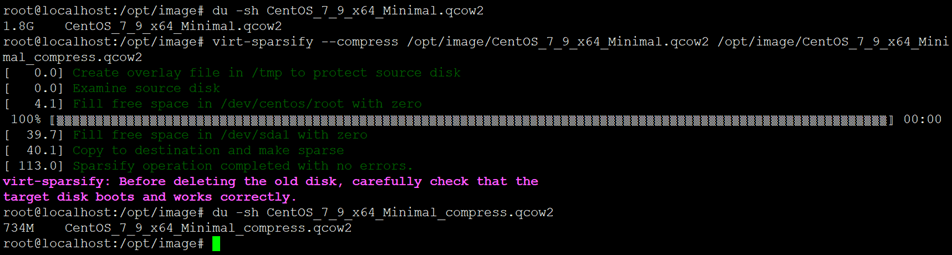
3)压缩镜像
root@localhost:/opt/image# du -sh CentOS_7_9_x64_Minimal.qcow2
root@localhost:/opt/image# virt-sparsify --compress /opt/image/CentOS_7_9_x64_Minimal.qcow2 /opt/image/CentOS_7_9_x64_Minimal_compress.qcow2
root@localhost:/opt/image# du -sh CentOS_7_9_x64_Minimal_compress.qcow2
10、上传Ubuntu镜像到OpenStack
Tips:将虚拟机中的CentOS_7_9_x64_Minimal_compress.qcow2拷贝到本地。
1)打开OpenStack的Dashboard界面,选择创建镜像
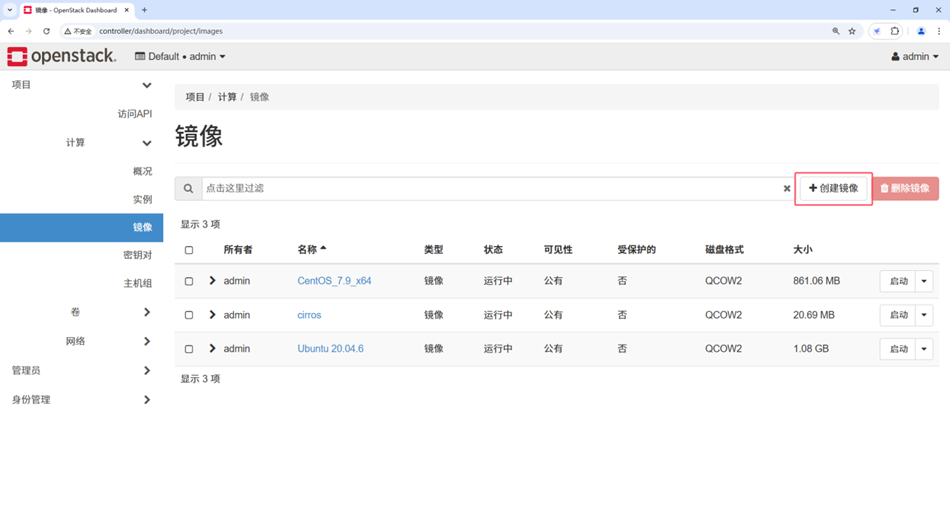
2)设置镜像名称、选择镜像文件、选择镜像格式及镜像共享

3)镜像上传完成

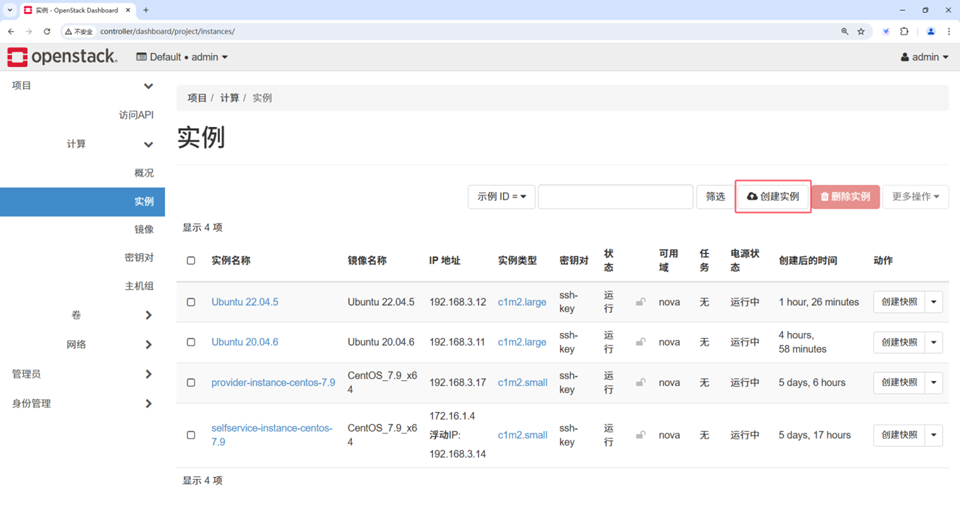
11)创建Ubuntu实例
1、创建实例
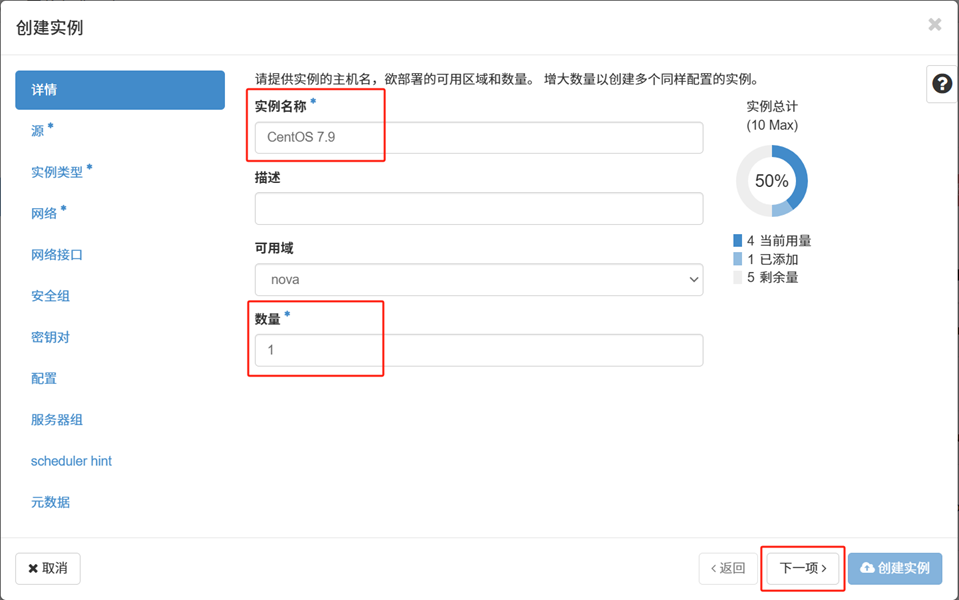
2、输入实例名称和数量
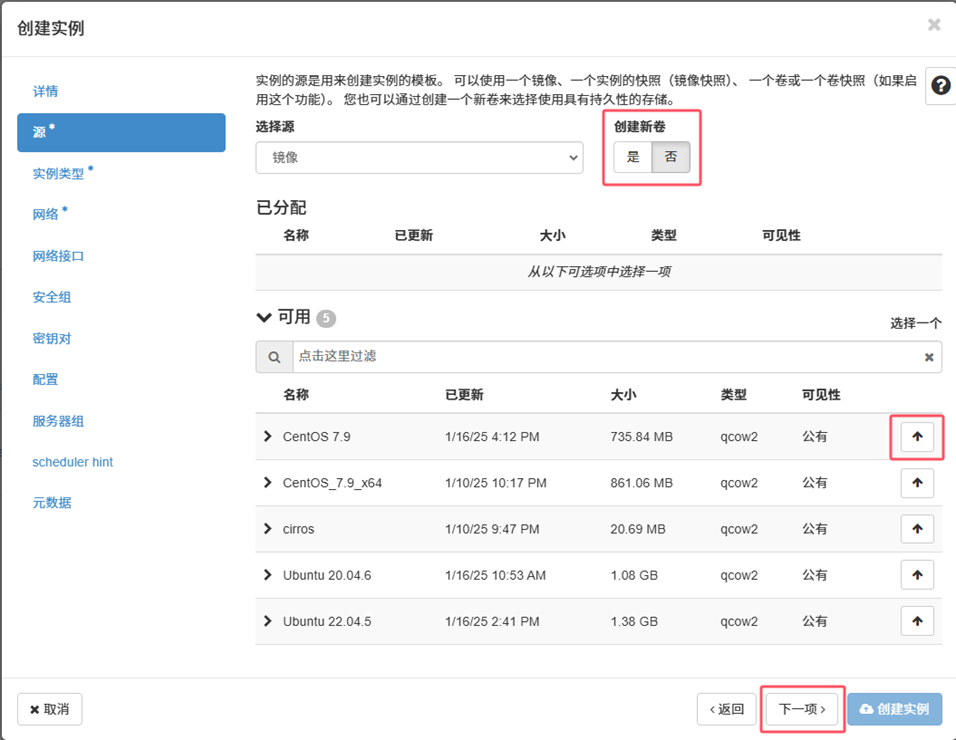
3、选择镜像
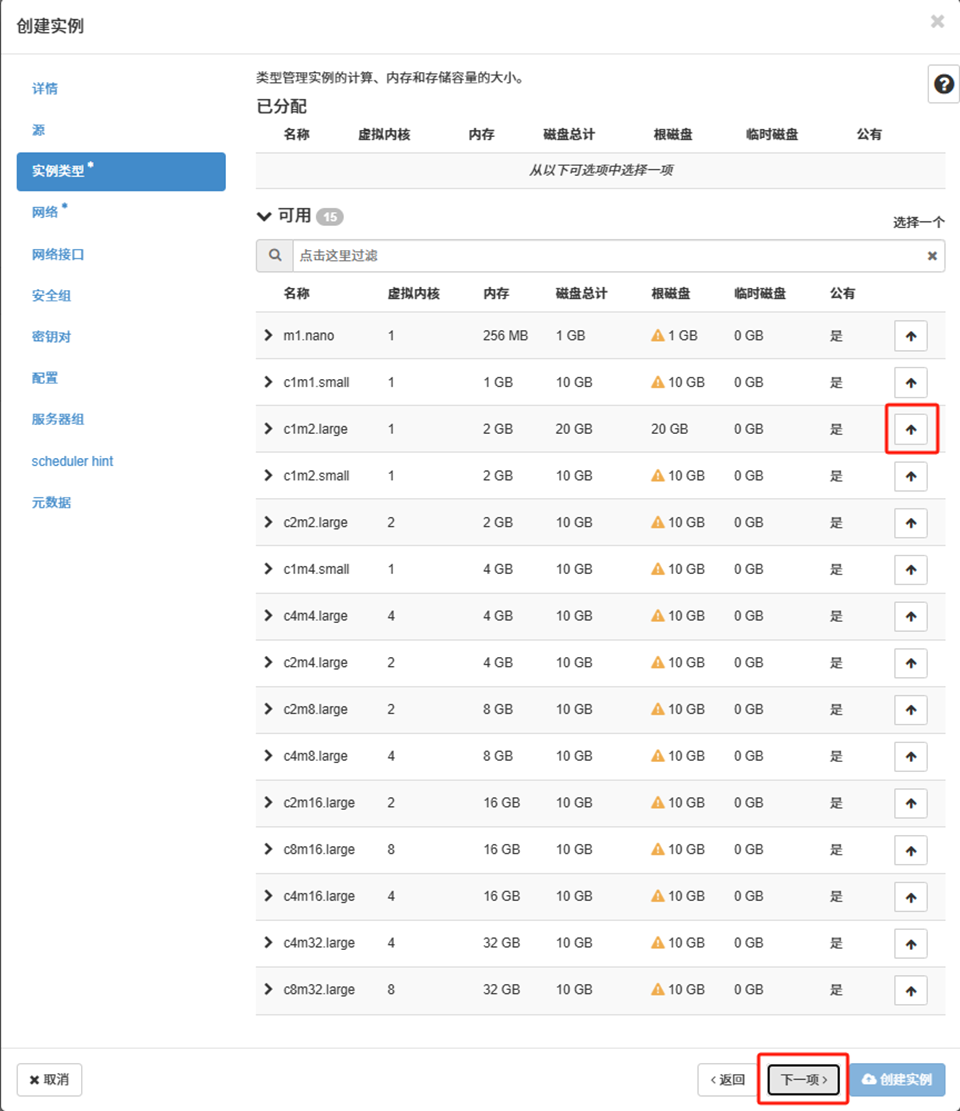
4、选择实例类型
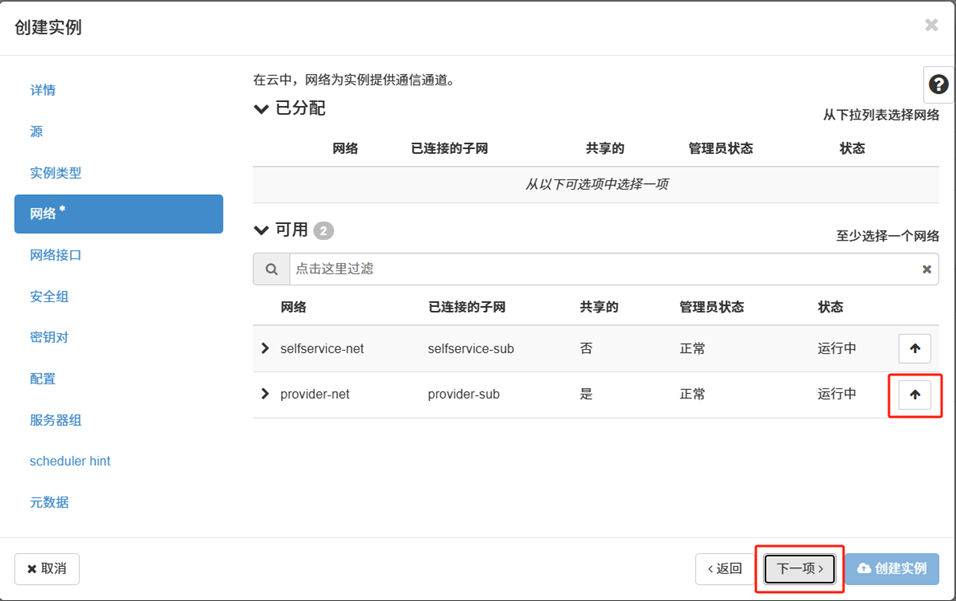
5、选择网络
6、配置网络接口,这里默认不配置

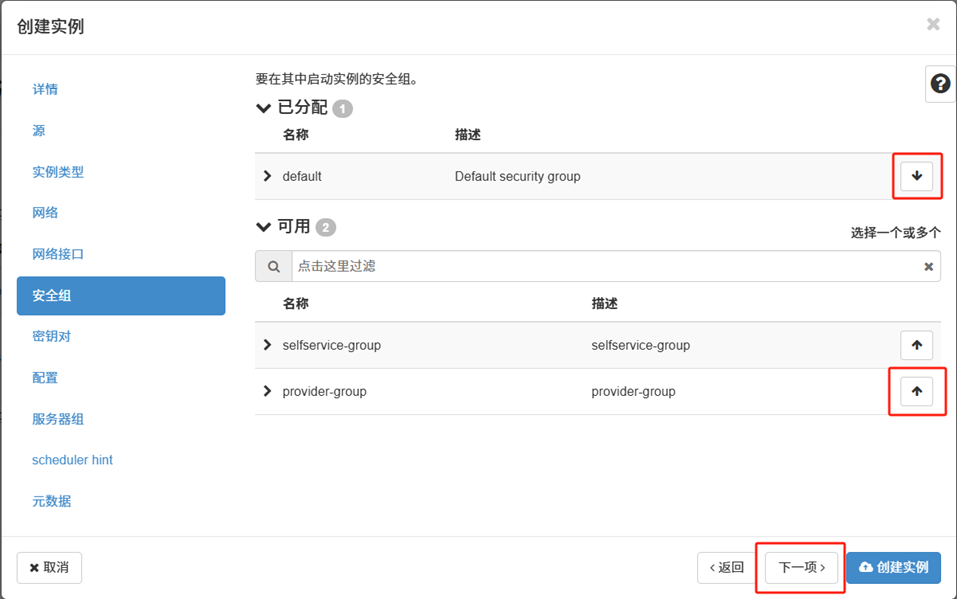
7、选择安全组
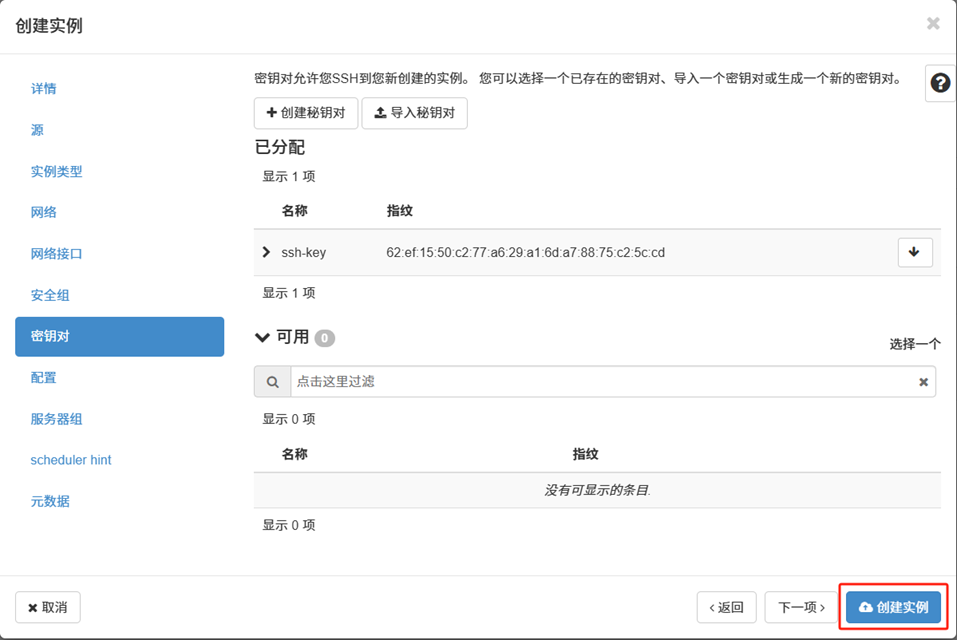
8、选择密钥对,最后点击创建实例
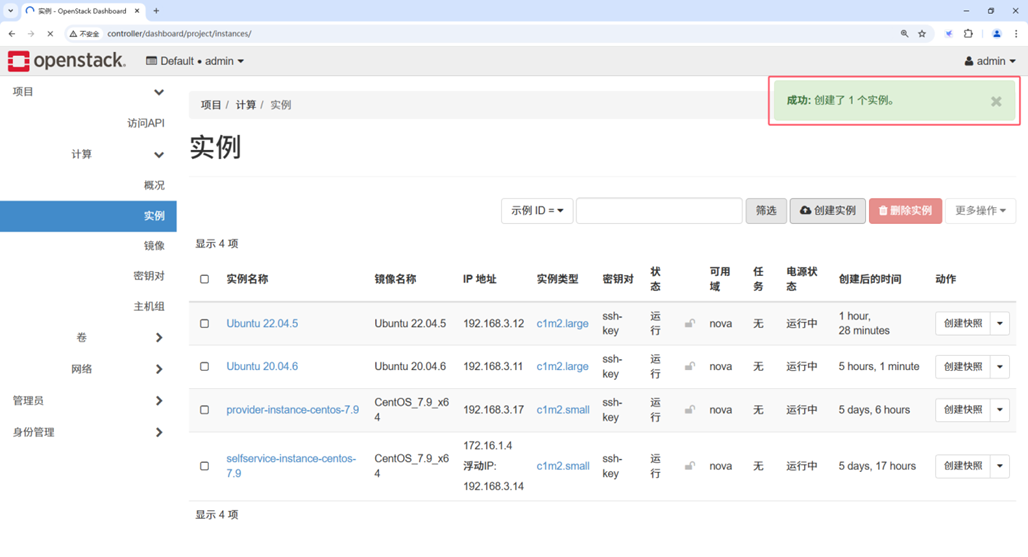
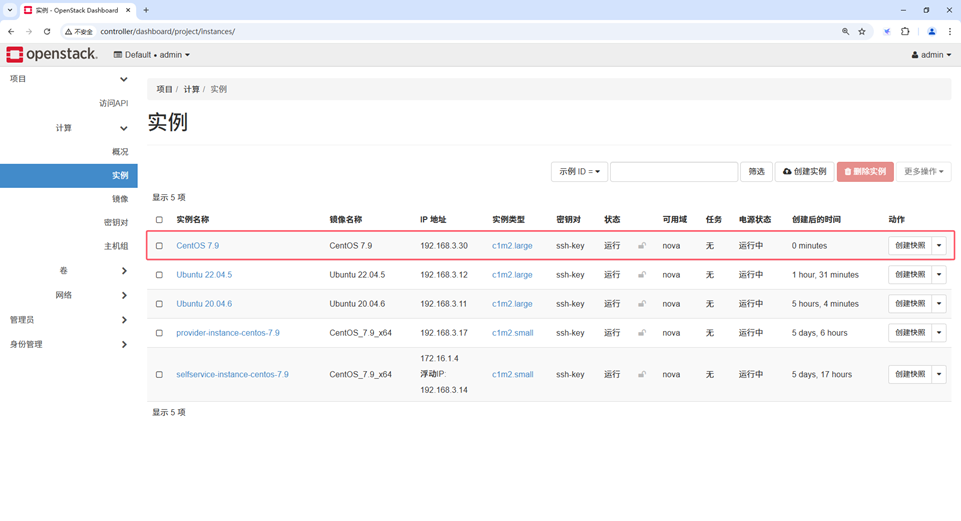
9、等待实例创建完成
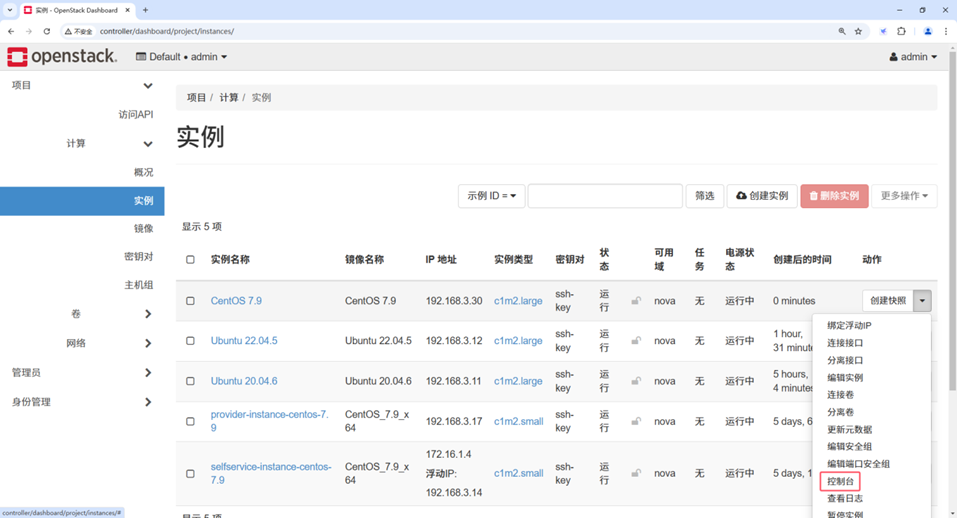
12、登录CentOS实例
1)选择实例,进入控制台
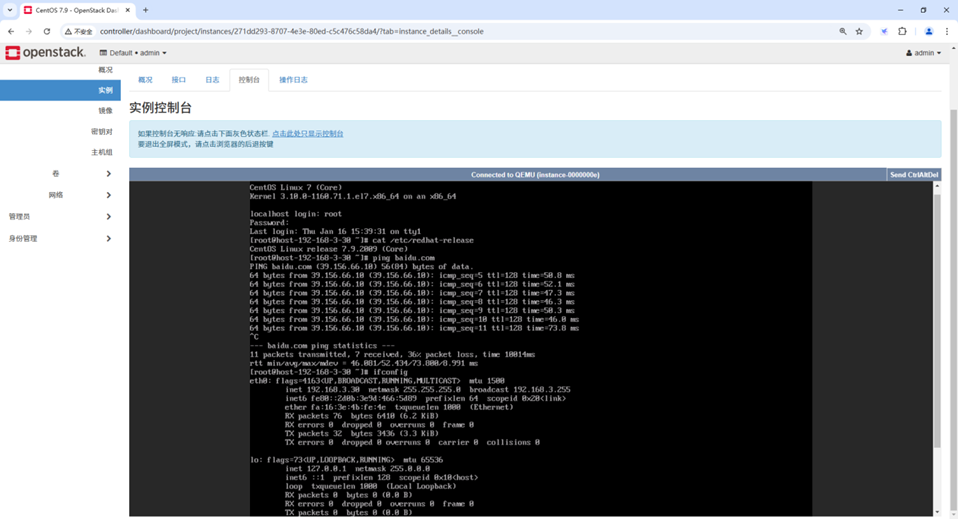
2)输入用户名和密码登录控制台
13、Xshell登录实例

若文章图片、下载链接等信息出错,请在评论区留言反馈,博主将第一时间更新!如本文“对您有用”,欢迎随意打赏,谢谢!


评论