
一、Ceph概述
Ceph是一种高性能、高可靠性的分布式存储系统,由Sage Weil于2004年开发,旨在解决大规模数据存储的扩展性、可靠性和性能问题。随着OpenStack日渐成为开源云计算的标准软件栈,Ceph也已经成为OpenStack的首选后端存储。
1)Ceph支持
对象存储:即radosgw,兼容S3接口。通过rest api上传、下载文件。
文件系统:posix接口。可以将Ceph集群看做一个共享文件系统挂载到本地。
块存储:即rbd。有kernel rbd和librbd两种使用方式。支持快照、克隆。相当于一块硬盘挂到本地,用法和用途和硬盘一样。比如在OpenStack项目里,Ceph的块设备存储可以对接OpenStack的后端存储。
2)Ceph相比其它分布式存储有哪些优点?
统一存储:虽然Ceph底层是一个分布式文件系统,但由于在上层开发了支持对象和块的接口。所以在开源存储软件中,能够一统江湖。
高扩展性:扩容方便、容量大。能够管理上千台服务器、EB级的容量。
可靠性强:支持多份强一致性副本,EC。副本能够垮主机、机架、机房、数据中心存放。所以安全可靠。存储节点可以自管理、自动修复。无单点故障,容错性强。
高性能:因为是多个副本,因此在读写操作时候能够做到高度并行化。理论上,节点越多,整个集群的IOPS和吞吐量越高。另外一点Ceph客户端读写数据直接与存储设备(osd)交互。
3)Ceph各组件介绍
Ceph OSD: Ceph OSD守护进程(Ceph OSD)的功能是存储数据,处理数据的复制、恢复、回填、再均衡,并通过检查其他OSD守护进程的心跳来向Ceph Monitors提供一些监控信息。
Monitors: Ceph Monitor维护着展示集群状态的各种图表,包括监视器图、OSD 图、归置组(PG )图和CRUSH图。 Ceph保存着发生在Monitors、OSD和PG上的每一次状态变更的历史信息(称为epoch)。
MDS: Ceph元数据服务器(MDS)为Ceph文件系统存储元数据(也就是说,Ceph 块设备和Ceph对象存储不使用MDS)。元数据服务器使得POSIX文件系统的用户们,可以在不对Ceph存储集群造成负担的前提下,执行诸如ls、find等基本命令。
二、Ceph集群部署
1、系统环境
|
操作系统 |
IP地址 |
CPU/内存/磁盘 |
主机名 |
主机角色 |
|
Ubuntu 22.04.5 |
192.168.10.220 |
4C、8G、200G、1TB |
ceph |
mon、mgr、mds、osd |
|
Ubuntu 22.04.5 |
192.168.10.221 |
2C、4G、200G |
ceph-client |
Ceph客户端 |
2、基础配置
1)配置hosts、主机名
root@localhost:~# hostnamectl set-hostname ceph
root@localhost:~# hostnamectl set-hostname ceph-client
root@ceph:~# cat >>/etc/hosts <<EOF
192.168.10.220 ceph
192.168.10.221 ceph-client
EOF
2)配置SSH免密钥
root@ceph:~# ssh-keygen
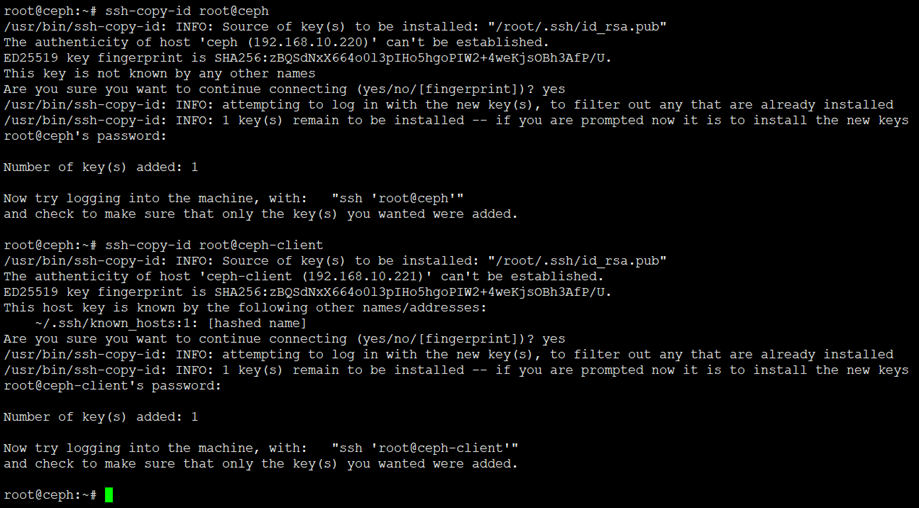
root@ceph:~# ssh-copy-id root@ceph
root@ceph:~# ssh-copy-id root@ceph-client
3)配置时间同步
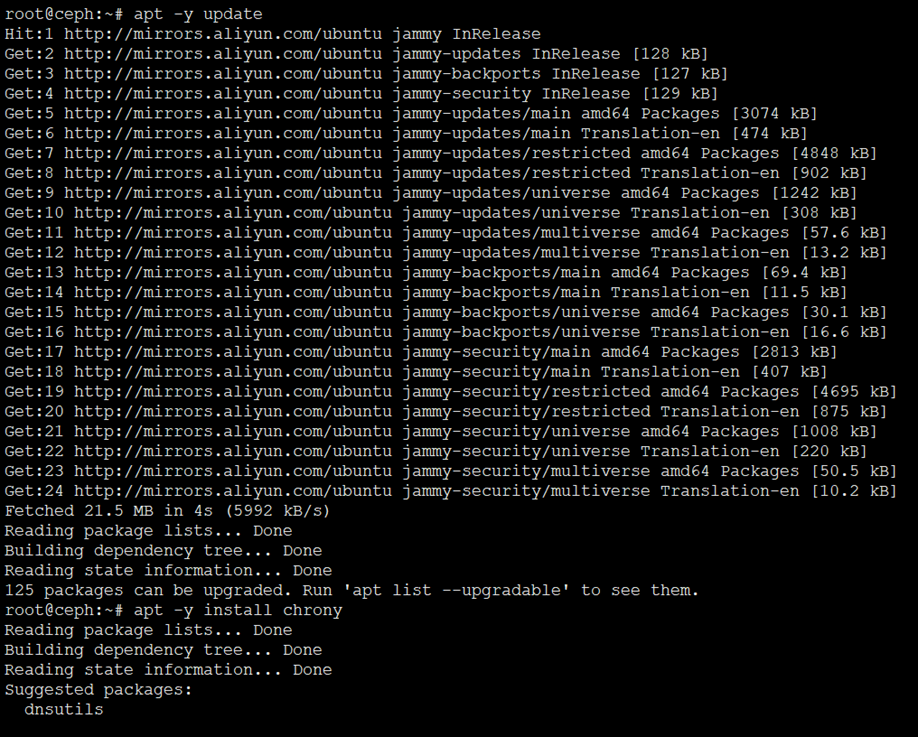
root@ceph:~# apt -y update
root@ceph:~# apt -y install chrony
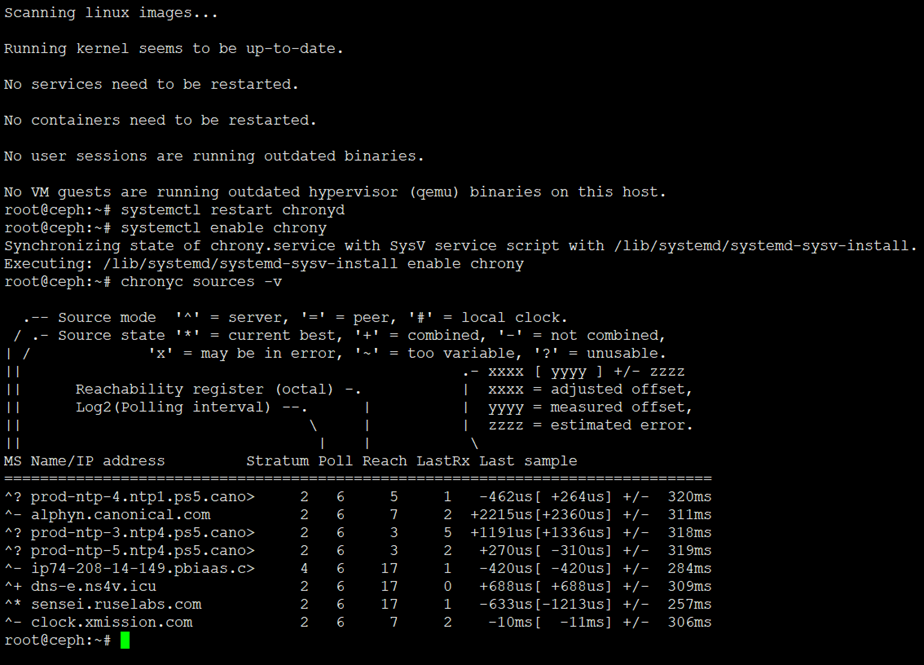
root@ceph:~# systemctl restart chronyd
root@ceph:~# systemctl enable chrony
root@ceph:~# chronyc sources -v
4)安装Docker
root@ceph:~# apt -y install docker docker.io

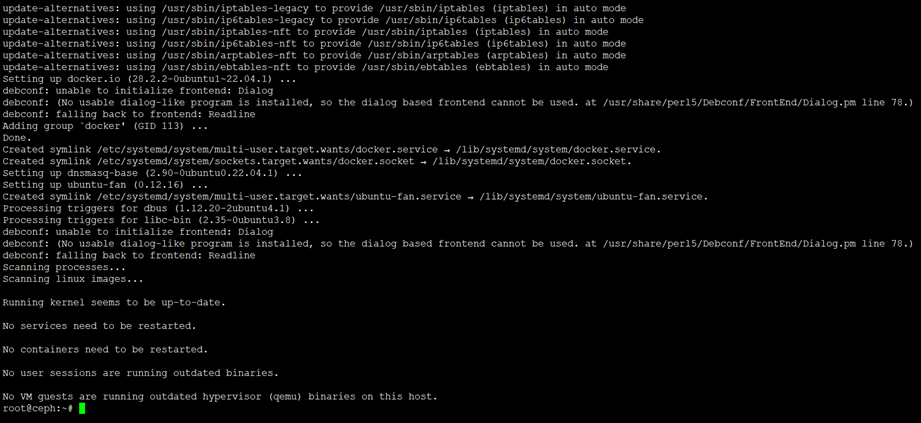
# 重启Docker并配置开机自启动
root@ceph:~# systemctl restart docker
root@ceph:~# systemctl enable docker
若文章图片、下载链接等信息出错,请在评论区留言反馈,博主将第一时间更新!如本文“对您有用”,欢迎随意打赏,谢谢!


评论