
一、Kickstart使用背景介绍
随着公司业务不断增加,经常需要采购新服务器,并要求安装Linux系统,并且要求Linux版本要一致,方便以后的维护和管理,每次人工安装linux系统会浪费掉更多时间,如果我们有办法能节省一次一次的时间岂不更好呢?
大中型互联网公司一次采购服务器上百台,如果采用人工手动一台一台的安装,一个人得搞坏N张光盘,得多少个加班加点才能完成这项"艰巨"的任务呢,我们可以看到全人工来完成这样的工作太浪费人力了,有没有自动化安装平台呢,通过一台已存在的系统然后克隆或者复制到新的服务器呢。Kickstart可以毫不费力的完成这项工作。
二、PXE简介
PXE(Pre-boot Execution Environment,预启动执行环境)是由Intel公司开发的最新技术,工作于Client/Server的网络模式,支持工作站通过网络从远端服务器下载映像,并由此支持通过网络启动操作系统,在启动过程中,终端要求服务器分配IP地址,再用TFTP(trivial file transfer protocol)或MTFTP(multicast trivial file transfer protocol)协议下载一个启动软件包到本机内存中执行,由这个启动软件包完成终端基本软件设置,从而引导预先安装在服务器中的终端操作系统。
严格来说,PXE 并不是一种安装方式,而是一种引导方式。进行 PXE 安装的必要条件是在要安装的计算机中必须包含一个 PXE 支持的网卡(NIC),即网卡中必须要有 PXE Client。PXE 协议可以使计算机通过网络启动。此协议分为 Client端和 Server 端,而PXE Client则在网卡的 ROM 中。当计算机引导时,BIOS 把 PXE Client 调入内存中执行,然后由 PXE Client 将放置在远端的文件通过网络下载到本地运行。运行 PXE 协议需要设置 DHCP 服务器和 TFTP 服务器。DHCP 服务器会给 PXE Client(将要安装系统的主机)分配一个 IP 地址,由于是给 PXE Client 分配 IP 地址,所以在配置 DHCP 服务器时需要增加相应的 PXE 设置。此外,在 PXE Client 的 ROM 中,已经存在了 TFTP Client,那么它就可以通过 TFTP 协议到 TFTP Server 上下载所需的文件了。
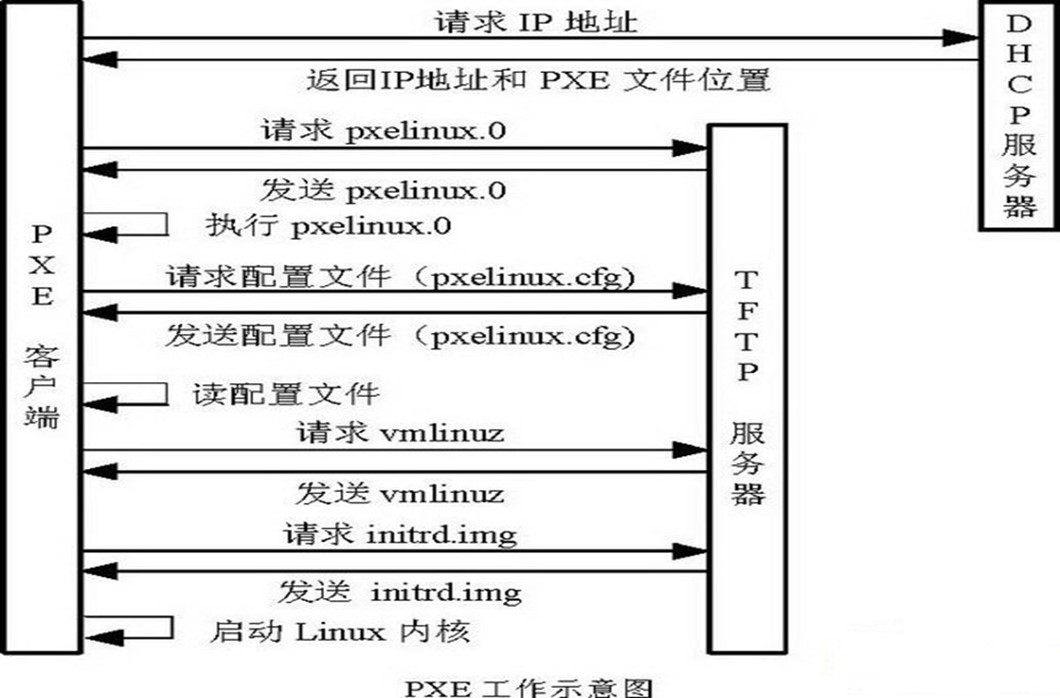
三、PXE的工作过程
1、PXE Client从自己的PXE网卡启动,向本网络中的DHCP服务器索取IP;
2、DHCP服务器返回分配给客户机的IP以及PXE文件的放置位置(该文件一般是放在一台TFTP服务器上) ;
3、PXE Client向本网络中的TFTP服务器索取pxelinux.0 文件;
4、PXE Client取得pxelinux.0文件后之执行该文件;
5、根据pxelinux.0的执行结果,通过TFTP服务器加载内核和文件系统 ;
6、进入安装画面, 此时可以通过选择HTTP、FTP、NFS 方式之一进行安装;
四、详细工作流程
请参考下面这幅图:
五、Kickstart简介
Kickstart是一种无人值守的安装方式。它的工作原理是在安装过程中记录典型的需要人工干预填写的各种参数,并生成一个名为ks.cfg的文件。如果在安装过程中(不只局限于生成Kickstart安装文件的机器)出现要填写参数的情况,安装程序首先会去查找Kickstart生成的文件,如果找到合适的参数,就采用所找到的参数;如果没有找到合适的参数,便需要安装者手工干预了。所以,如果Kickstart文件涵盖了安装过程中可能出现的所有需要填写的参数,那么安装者完全可以只告诉安装程序从何处取ks.cfg文件,然后就去忙自己的事情。等安装完毕,安装程序会根据ks.cfg中的设置重启系统,并结束安装。
PXE+Kickstart无人值守安装操作系统完整过程如下
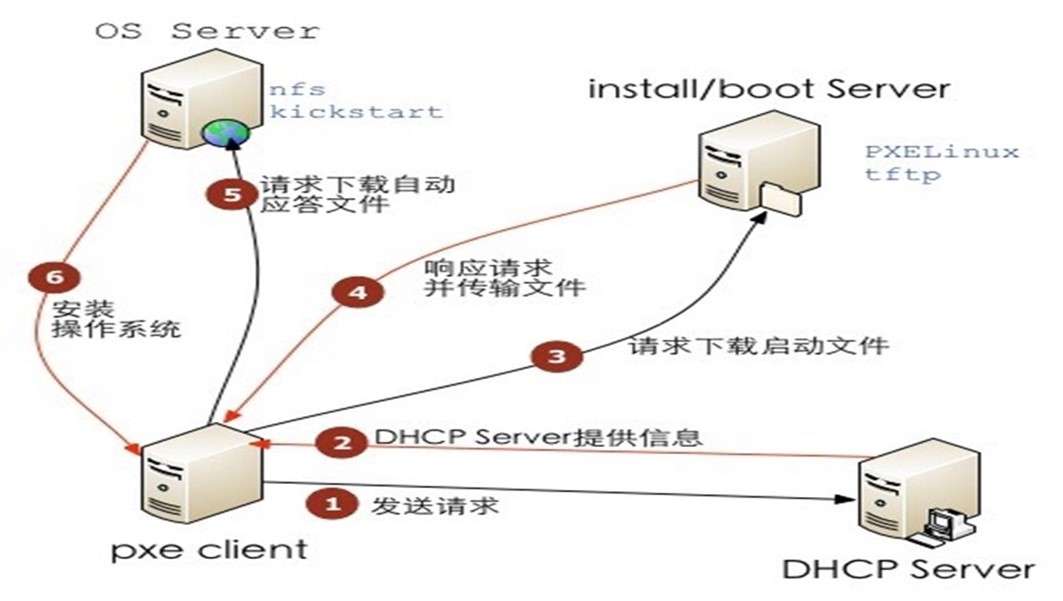
要使用kickstart安装平台,包括的完整架构为:
Kickstart+DHCP+NFS(http)+TFTP+PXE,从架构可以看出,大致需要安装的服务,
例如dhcp、tftp、nfs、kickstart/pxe等。
测试环境:CentOS 6.9,理论支持Centos(Redhat)6.X系统
六、Kickstart安装配置
1、安装nfs、dhcp、tftp、xinetd
[root@localhost ~]# yum -y install dhcp* tftp* nfs-utils rpcbind syslinux syslinux-devel
2、配置tftp
[root@localhost ~]# sed -i '/disable/s/yes/no/' /etc/xinetd.d/tftp
3、挂载光盘
[root@localhost ~]# mkdir -p /data/centos
[root@localhost ~]# mount /dev/cdrom /mnt
4、配置NFS
[root@localhost ~]# echo "/data/centos * (rw,sync)" >>/etc/exports
[root@localhost ~]# nohup cp -a /mnt/* /data/centos
5、配置DHCP
[root@localhost ~]# vim /etc/dhcp/dhcpd.conf
# 添加以下内容
|
ddns-update-style interim; ignore client-updates; next-server 192.168.1.80; filename "pxelinux.0"; allow booting; allow bootp; subnet 192.168.1.0 netmask 255.255.255.0 { #---default gateway option routers 192.168.1.1; option subnet-mask 255.255.255.0; option domain-name-servers 202.96.134.133,114.114.114.114; range dynamic-bootp 192.168.1.10 192.168.1.250; } |
6、配置pxelinux.cfg
[root@localhost ~]# \cp /usr/share/syslinux/pxelinux.0 /tftpboot
[root@localhost ~]# \cp /mnt/images/pxeboot/{vmlinuz,initrd.img} /var/lib/tftpboot
[root@localhost ~]# mkdir -p /var/lib/tftpboot/pxelinux.cfg
[root@localhost ~]# vim /var/lib/tftpboot/pxelinux.cfg/default
# 添加以下内容
|
default linux prompt 1 timeout 10 display boot.msg F1 boot.msg F2 options.msg F3 general.msg F4 param.msg F5 rescue.msg label linux kernel vmlinuz append ks=nfs:192.168.1.80:/data/centos/ks.cfg ksdevice=eth0 initrd=initrd.img label text kernel vmlinuz append initrd=initrd.img text label ks kernel vmlinuz append ks initrd=initrd.img label local localboot 1 label memtest86 kernel memtest append – |
7、配置ks.cfg文件
[root@localhost ~]# vim /data/centos/ks.cfg
# 添加以下内容
|
install text nfs --server=192.168.1.80 --dir=/data/centos lang en_US.UTF-8 keyboard us network --onboot yes --device eth0 --bootproto dhcp --noipv6 rootpw 123456 firewall --disabled authconfig --enableshadow --enablemd5 selinux --disabled timezone Asia/Shanghai bootloader --location=mbr --driveorder=sda --append="crashkernel=auto rhgb quiet" zerombr clearpart --all --initlabel part /boot --fstype=ext4 --size=200 part swap --size=2000 part / --fstype=ext4 --grow --size=200 reboot %packages @^minimal @core @chinese-support %post #修改为固定IP(DHCP分配什么IP就改成什么IP) IPADDR=$(ifconfig |awk '/Bcast/ {print $2}'|awk -F: '{print $2}') NETMASK=$(ifconfig |awk '/Bcast/ {print $4}'|awk -F: '{print $2}') GATEWAY=$(ip route |awk '/default/ {print $3}') #修改为静态IP sed -i 's/dhcp/static/' /etc/sysconfig/network-scripts/ifcfg-eth0 echo "IPADDR=${IPADDR}" >>/etc/sysconfig/network-scripts/ifcfg-eth0 echo "NETMASK=${NETMASK}" >>/etc/sysconfig/network-scripts/ifcfg-eth0 echo "GATEWAY=${GATEWAY}" >>/etc/sysconfig/network-scripts/ifcfg-eth0 #重启网卡 service network restart YUM_SOFT="lrzsz gcc gcc-c++ make cmake autoconf bzip2 bzip2-devel curl openssl openssl-devel rsync gd zip perl unzip ntpdate sysstat man mtr lsof iotop net-tools openssl-devel openssl-perl iostat subversion nscd vim ntp wget bzip2 bzip2-devel" #更改为163的源 yum -y install wget mkdir -p /etc/yum.repos.d/bak wget -P /etc/yum.repos.d/ http://mirrors.163.com/.help/CentOS6-Base-163.repo mv /etc/yum.repos.d/CentOS-*.repo /etc/yum.repos.d/bak yum clean all yum makecache yum install -y ${YUM_SOFT} #更改ulimit参数 \cp /etc/security/limits.conf /etc/security/limits.conf.back Limit=$(cat /etc/security/limits.conf | grep "65535"|wc -l) if [ ${Limit} -eq 0 ];then echo "* soft nproc 65535" >> /etc/security/limits.conf echo "* hard nproc 65535" >> /etc/security/limits.conf echo "* soft nofile 65535" >> /etc/security/limits.conf echo "* hard nofile 65535" >> /etc/security/limits.conf echo "ulimit -SHn 65535" >> /etc/profile echo "ulimit -SHn 65535" >> /etc/rc.local fi #配置SSH sed -i "s/\#UseDNS yes/UseDNS no/g" /etc/ssh/sshd_config sed -i "s/GSSAPIAuthentication yes/GSSAPIAuthentication no/g" /etc/ssh/sshd_config #设置时区 if [ "$(cat /etc/crontab | grep ntpdate)" = "" ]; then echo "0 23 * * * root /usr/sbin/ntpdate cn.pool.ntp.org >> /var/log/ntpdate.log" >> /etc/crontab fi rm -rf /etc/localtime ln -sf /usr/share/zoneinfo/Asia/Shanghai /etc/localtime ntpdate cn.pool.ntp.org;hwclock -w #设置sysctl SYSCONF=" net.ipv4.tcp_max_syn_backlog = 65536 net.core.netdev_max_backlog = 32768 net.core.somaxconn = 32768 net.core.wmem_default = 8388608 net.core.rmem_default = 8388608 net.core.rmem_max = 16777216 net.core.wmem_max = 16777216 net.ipv4.tcp_timestamps = 0 net.ipv4.tcp_synack_retries = 2 net.ipv4.tcp_syn_retries = 2 net.ipv4.tcp_tw_recycle = 1 net.ipv4.tcp_tw_reuse = 1 net.ipv4.tcp_mem = 94500000 915000000 927000000 net.ipv4.tcp_max_orphans = 3276800 net.ipv4.tcp_fin_timeout = 120 net.ipv4.tcp_keepalive_time = 120 net.ipv4.ip_local_port_range = 1024 65535 net.nf_conntrack_max = 16404388 net.netfilter.nf_conntrack_tcp_timeout_established = 10800 #kernel: TCP: time wait bucket table overflow net.ipv4.tcp_max_tw_buckets = 30000 #设置Linux打开文件句柄数 fs.file-max=655350" #重启SSHD服务 service sshd restart #内核优化 echo "${SYSCONF}" >> /etc/sysctl.conf /sbin/sysctl -p %end |
8、启动各个服务
[root@localhost ~]# service xinetd restart
[root@localhost ~]# service rpcbind start
[root@localhost ~]# service nfs start
[root@localhost ~]# service dhcpd restart
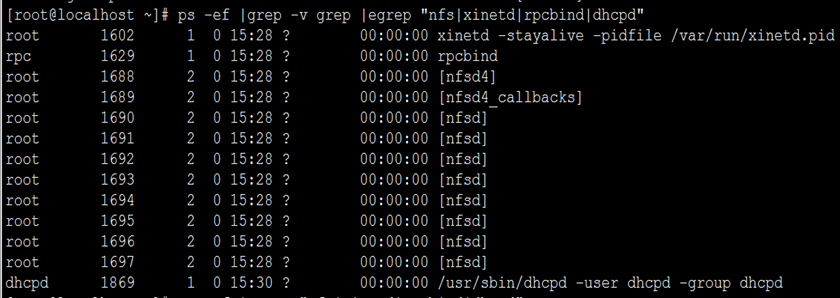
9、查看启动服务的进程信息
[root@localhost ~]# ps -ef |grep -v grep |egrep "nfs|xinetd|rpcbind|dhcpd"
10、开机自启
[root@localhost ~]# chkconfig rpcbind on
[root@localhost ~]# chkconfig nfs on
[root@localhost ~]# chkconfig xinetd on
[root@localhost ~]# chkconfig dhcpd on
11、验证(VMware虚拟机)
# 配置好虚拟机后,启动即可(网络模式需为桥接)

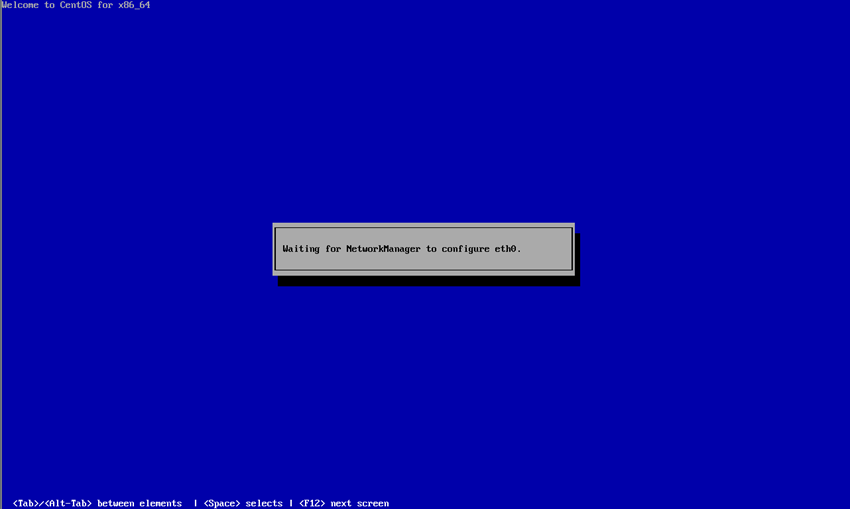
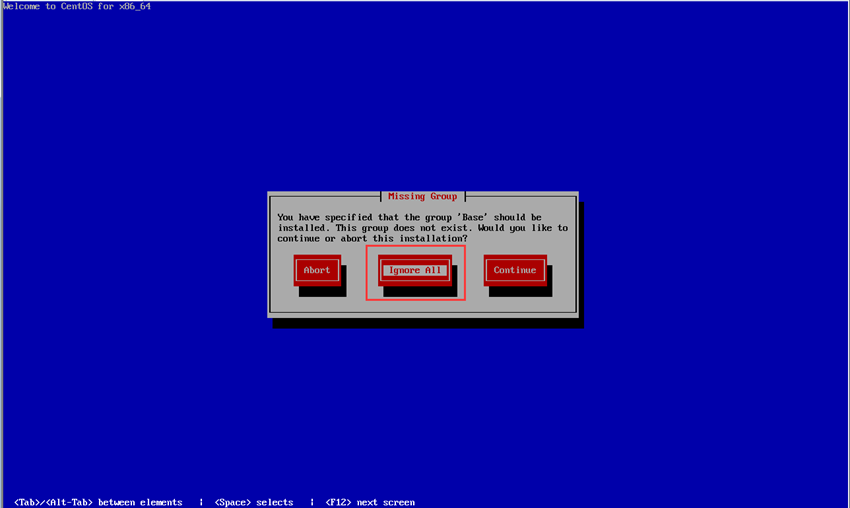
12、选择Ignore All
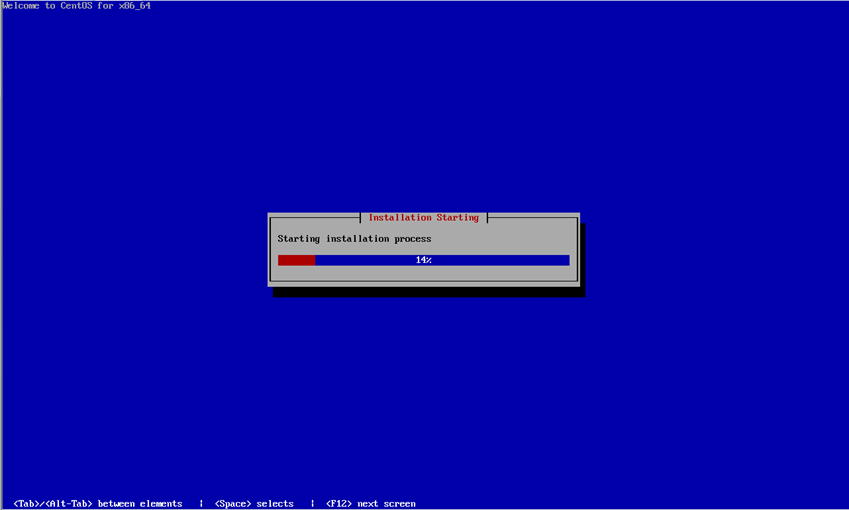
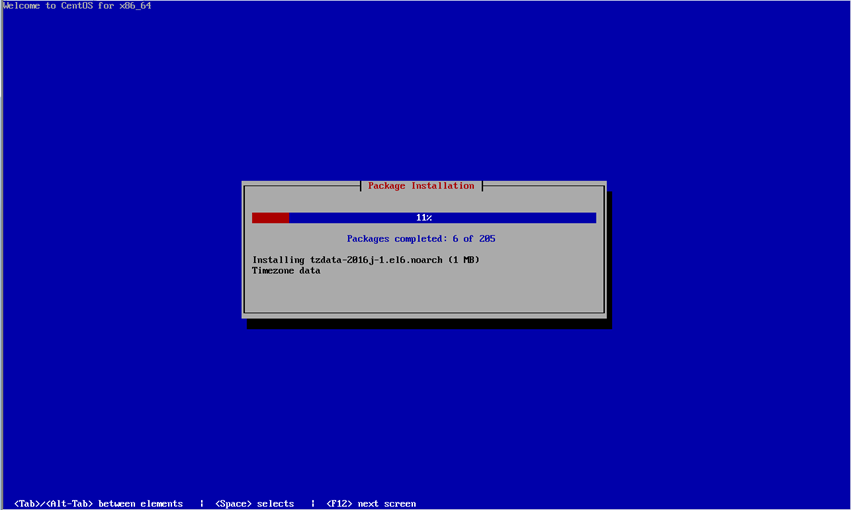
13、等待系统安装
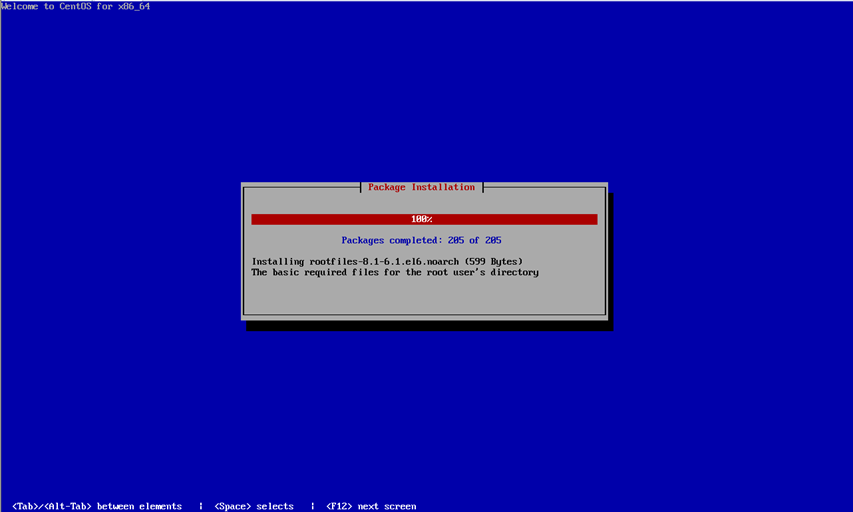
14、系统安装完毕
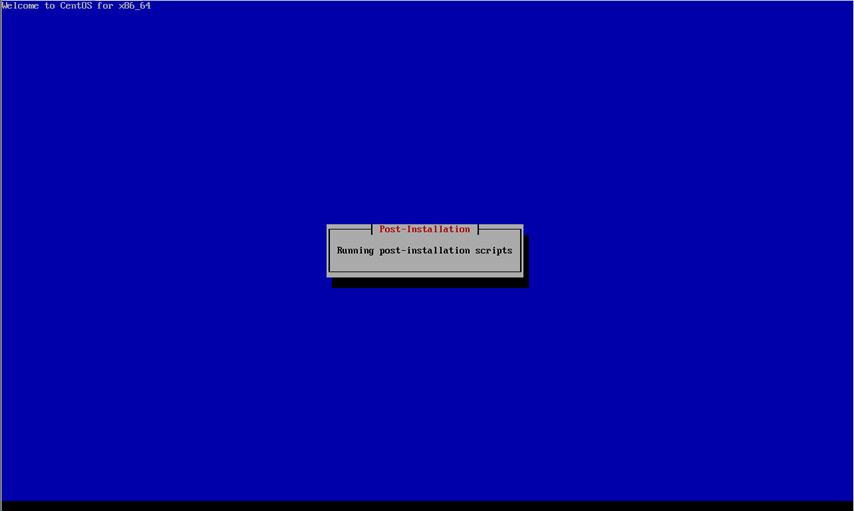
15、运行post定义的初始化命令
至此,Kickstart基于CentOS 6.9安装部署完成。
若文章图片、下载链接等信息出错,请在评论区留言反馈,博主将第一时间更新!如本文“对您有用”,欢迎随意打赏,谢谢!


评论