
Ngxtop实时解析nginx访问日志,并且将处理结果输出到终端,功能类似于系统命令top,所以这个软件起名ngxtop。有了ngxtop,你可以实时了解到当前nginx的访问状况,再也不需要tail日志看屏幕刷新。
一、安装ngxtop
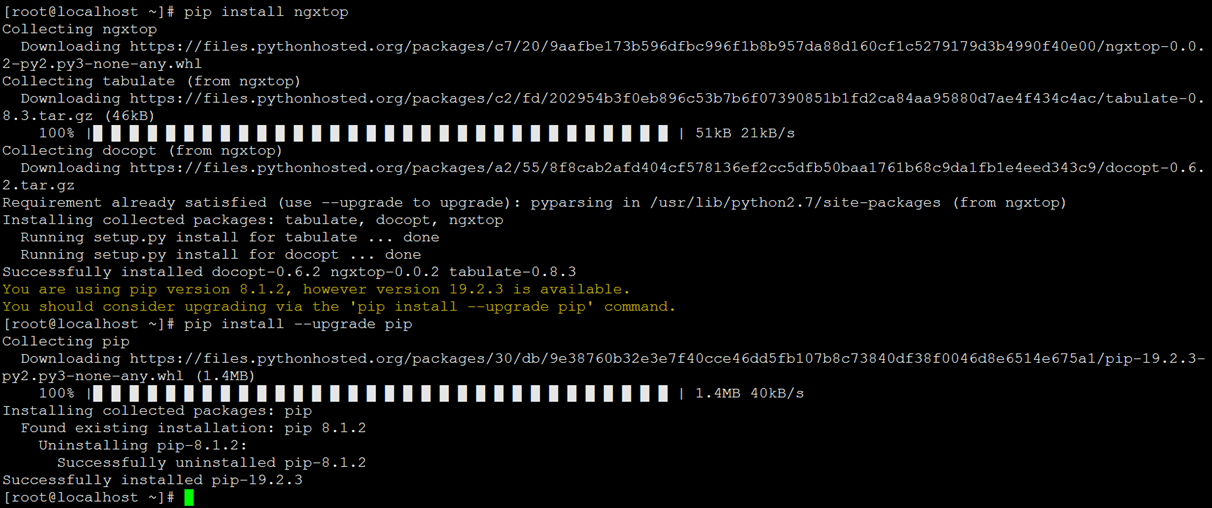
由于ngxtop是python编写,我们采用pip安装,可能有些用户没有安装pip,下面我们一块加上pip的安装步骤:
pip安装
Fedora:yum -y install python-pip
CentOS/RHEL需先安装EPEL:yum -y install epel-release && yum -y install python-pip
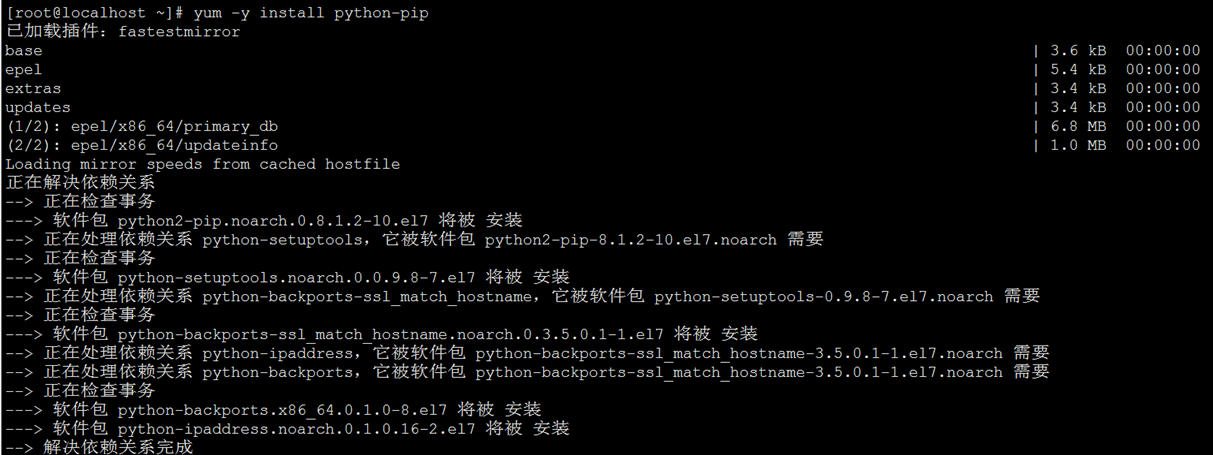
Debian/Ubuntu:apt-get install python-pip
安装完pip就可以安装ngxtop
ngxtop使用参数
ngxtop 参数 print|top|avg|sum
ngxtop info 显示日志格式信息
-l <file>或--access-log <file> 设置日志路径
-f <format>或--log-format <format> 设置日志格式,默认格式combined,另外一种较常用格式为common
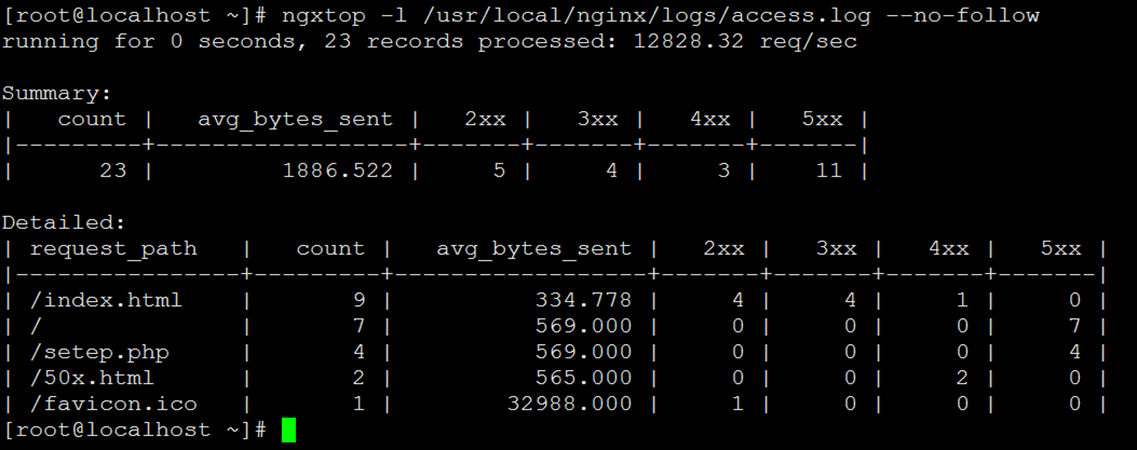
--no-follow 处理以前的日志,实时日志不做处理
-t <seconds> 或 --interval <seconds> 刷新频率,默认2秒
-g <var>或 --group-by <var> 按变量分组,默认显示 request_path
-w <var>或 --having <expr> 筛选 [default: 1]
-o <var>或 --order-by <var> 输出的排序方式,默认: 访问数
-n <number>或 --limit <number> 显示top多条,默认前top 10条
-a <exp> ...或 --a <exp> ... 对输出字段做处理,可选 sum, avg, min, max
-v或 --verbose 详细输出
-d或 --debug debug模式,输出每行及记录
-h或 --help 显示帮助详细
--version 显示版本信息
高级参数
-c <file>或 --config <file> 指定nginx配置文件,自动分析日志格式
-i <filter-expression>或 --filter <filter-expression> 满足表达式的过滤将被处理
-p <filter-expression>或 --pre-filter <filter-expression> in-filter expression to check in pre-parsing phase.
另外一些变量可以在分析时用到,名字含义同日志格式里的设置:remote_addr、remote_user、time_local、request、request_path、status、body_bytes_sent、http_referer、http_user_agent。
二、Ngxtop使用实例
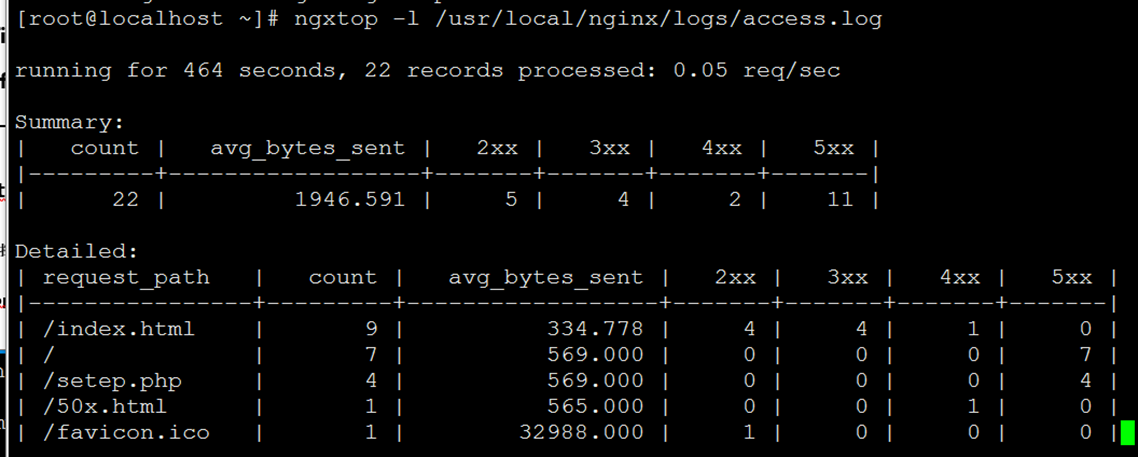
实时监控日志
[root@localhost ~]# ngxtop -l /usr/local/nginx/logs/access.log
日志分析
[root@localhost ~]# ngxtop -l /usr/local/nginx/logs/access.log --no-follow
按rquest_path且是404的前10请求:
[root@localhost ~]# ngxtop -l /usr/local/nginx/logs/access.log --no-follow top request_path --filter 'status == 404'
按总bytes sent最高的前10:
[root@localhost ~]# ngxtop -l /usr/local/nginx/logs/access.log --no-follow --order-by 'avg(bytes_sent) * count'
按remote address进行排序前10:
[root@localhost ~]# ngxtop -l /usr/local/nginx/logs/access.log --no-follow --group-by remote_addr
显示400或更高返回状态码的且只显示request、status、http_referer这三列信息:
[root@localhost ~]# ngxtop -l /usr/local/nginx/logs/access.log --no-follow -i 'status >= 400' print request status http_referer
显示bytes_sent平均值且状态码为200且request_path以www开始的前10:
[root@localhost ~]# ngxtop -l /usr/local/nginx/logs/access.log --no-follow avg bytes_sent --filter 'status == 200 and request_path.startswith("www")'
关于 ngxtop 的更多用法,可通过 ngxtop -h 查询。
若文章图片、下载链接等信息出错,请在评论区留言反馈,博主将第一时间更新!如本文“对您有用”,欢迎随意打赏,谢谢!


评论